VirtualBoxでのUbuntuのセットアップ
仮想マシンの作成
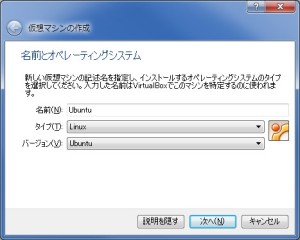
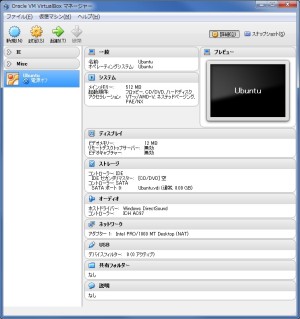
VirtualBoxを起動し、メニューの【仮想マシン → 新規】を選択します。最初に仮想マシンの名前と、インストールするOSの種類を問われます。名前は任意で構いませんが、タイプには[Linux]を、そしてバージョンで[Ubuntu]を指定します。
インストールするのが64bit版のUbuntuならば、バージョンで[Ubuntu (64 bit)]を選択します。
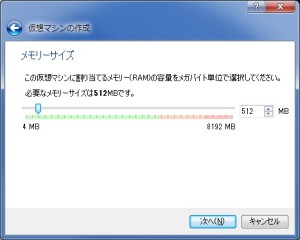
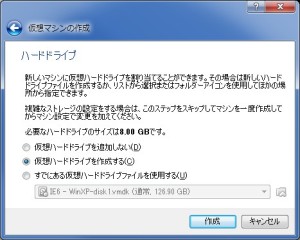
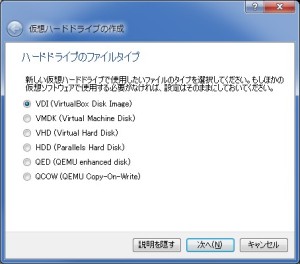
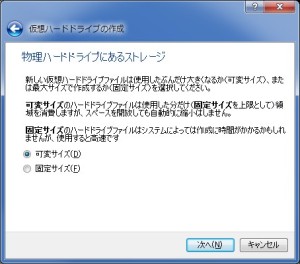
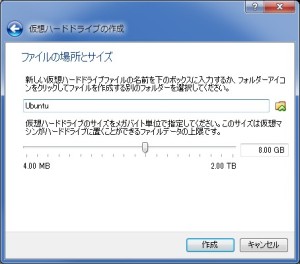
[作成]をクリックすると、仮想マシンが作成されます。
Ubuntuのイメージファイルの割り当て
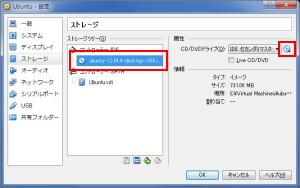
作成した仮想マシンを選択した状態で、メニューの【仮想マシン → 設定】を選択します。
[ストレージ]のCD/DVDドライブに、ダウンロードした.isoファイルを割り当てます。割り当ては、[属性]の項目の右にあるディスクのアイコンをクリックすることで行えます。
Ubuntuのインストール
インストール中にフリーズした場合には、原因を特定し、メニューの【仮想マシン → リセット】から再起動します。
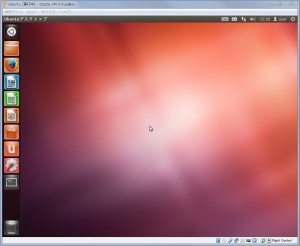
仮想マシンを選択した状態で、メニューの【仮想マシン → 起動】でUbuntuを起動します。
このときUbuntu 64bitに対して仮想マシンの設定が32bitになっていると、This kernel requires an x86-64 CPU, but only detected an i686 CPU. Unable to boot - please use a kernel appropriate for your CPU.となり起動できません。この場合には仮想マシンの設定の[一般]の[基本]タブにあるバージョンを、[Ubuntu (64bit)]に変更します。Cannot install Ubuntu in VirtualBox due to "this kernel requires an x86-64 CPU, but only detects an i686 CPU, unable to boot" error - Ask Ubuntu

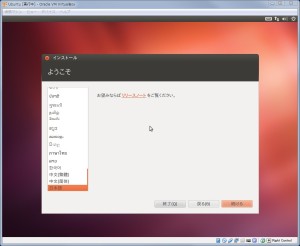
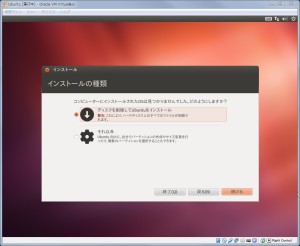
[Ubuntuをインストール]を選択します。

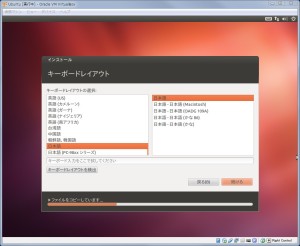
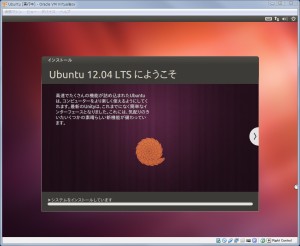
選択されている言語を確認し、[続ける]をクリックします。
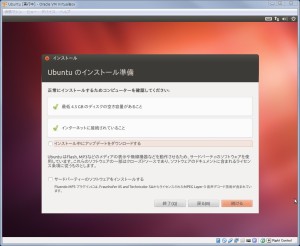
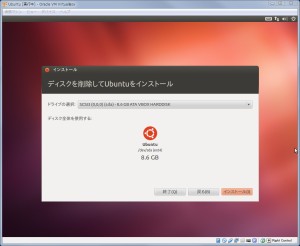
[ディスクを削除してUbuntuをインストール]を選択し、[続ける]をクリックします。
インストールが完了すると、再起動を促されます。
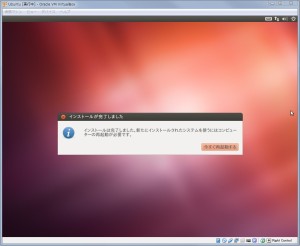
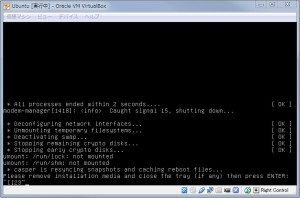
インストール用のドライブを割り当てたまま再起動すると、「Please remove installation media and close the tray (if any) then press ENTER」としてエラーとなります。割り当ての解除は、メニューの【デバイス】から当該のドライブを選択し、[仮想ドライブからディスクを除去]を選択することで行えます。そしてEnterを押下します。
Guest Additionsのインストール
Guest Additionsをインストールすることで、クリップボードの共有などの機能を追加できます。
Ubuntuをアップグレードすると、クリップボードの共有などが機能しなくなることがあります。その場合には再度Guest Additionsをインストールします。
インストールするには、VirtualBoxのメニューから【デバイス → Guest Additions のCDイメージを挿入】を選択します。そして、

のように実行の確認を求められたら[実行する]をクリックします。すでにCDイメージがマウントされている場合、このようにダイアログが表示されず「仮想光学ディスク…をマシン…に挿入できません。このディスクを強制挿入してみますか?」のように表示されます。その場合にはNautilusなどから、CDのデバイスにあるautorun.shを実行します。
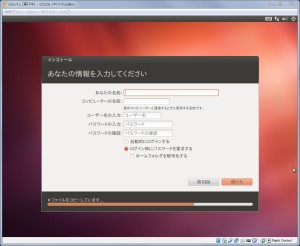
インストール時にパスワードを求められたら入力し、処理の完了を待ちます。
Verifying archive integrity... All good.
Uncompressing VirtualBox 4.3.6 Guest Additions for Linux............
VirtualBox Guest Additions installer
Copying additional installer modules ...
Installing additional modules ...
Removing existing VirtualBox non-DKMS kernel modules ...done.
Building the VirtualBox Guest Additions kernel modules
The headers for the current running kernel were not found. If the following
module compilation fails then this could be the reason.

Building the main Guest Additions module ...done.
Building the shared folder support module ...done.
Building the OpenGL support module ...done.
Doing non-kernel setup of the Guest Additions ...done.
Starting the VirtualBox Guest Additions ...done.
Installing the Window System drivers
Installing X.Org Server 1.14 modules ...done.
Setting up the Window System to use the Guest Additions ...done.
You may need to restart the hal service and the Window System (or just restart
the guest system) to enable the Guest Additions.

Installing graphics libraries and desktop services components ...done.
Press Return to close this window...
インストールの成功を確認したら、OSを再起動します。
インストール時の警告
VirtualBox 4.3.6上のUbuntu 14.04にGuest Additionsをインストールすると、「Warning: unknown version of the X Window System installed. Not installing X Window System drivers.」となり、ディスプレイの解像度を変更できないなどの不具合を生じます。このような場合にはVirtualBoxをアップグレードし、Guest Additionsを更新します。
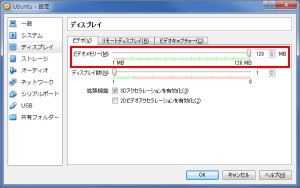
ビデオメモリの割り当ての確認
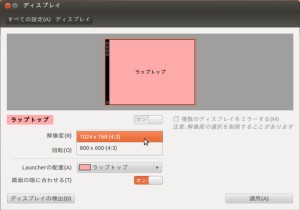
Guest Additionsをインストールするとディスプレイの名称が「VBX」となり、大きな解像度に設定できるようになります。
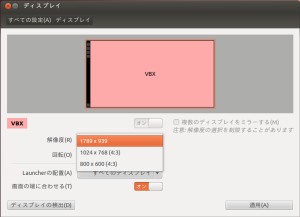
システム設定 → ディスプレイ
もしこの名称が「ラップトップ」と表示され、低い解像度にしか設定できないとしたら、ビデオメモリの割り当てを確認します。この割り当てを大きくすると、高解像度に対応できるようになります。